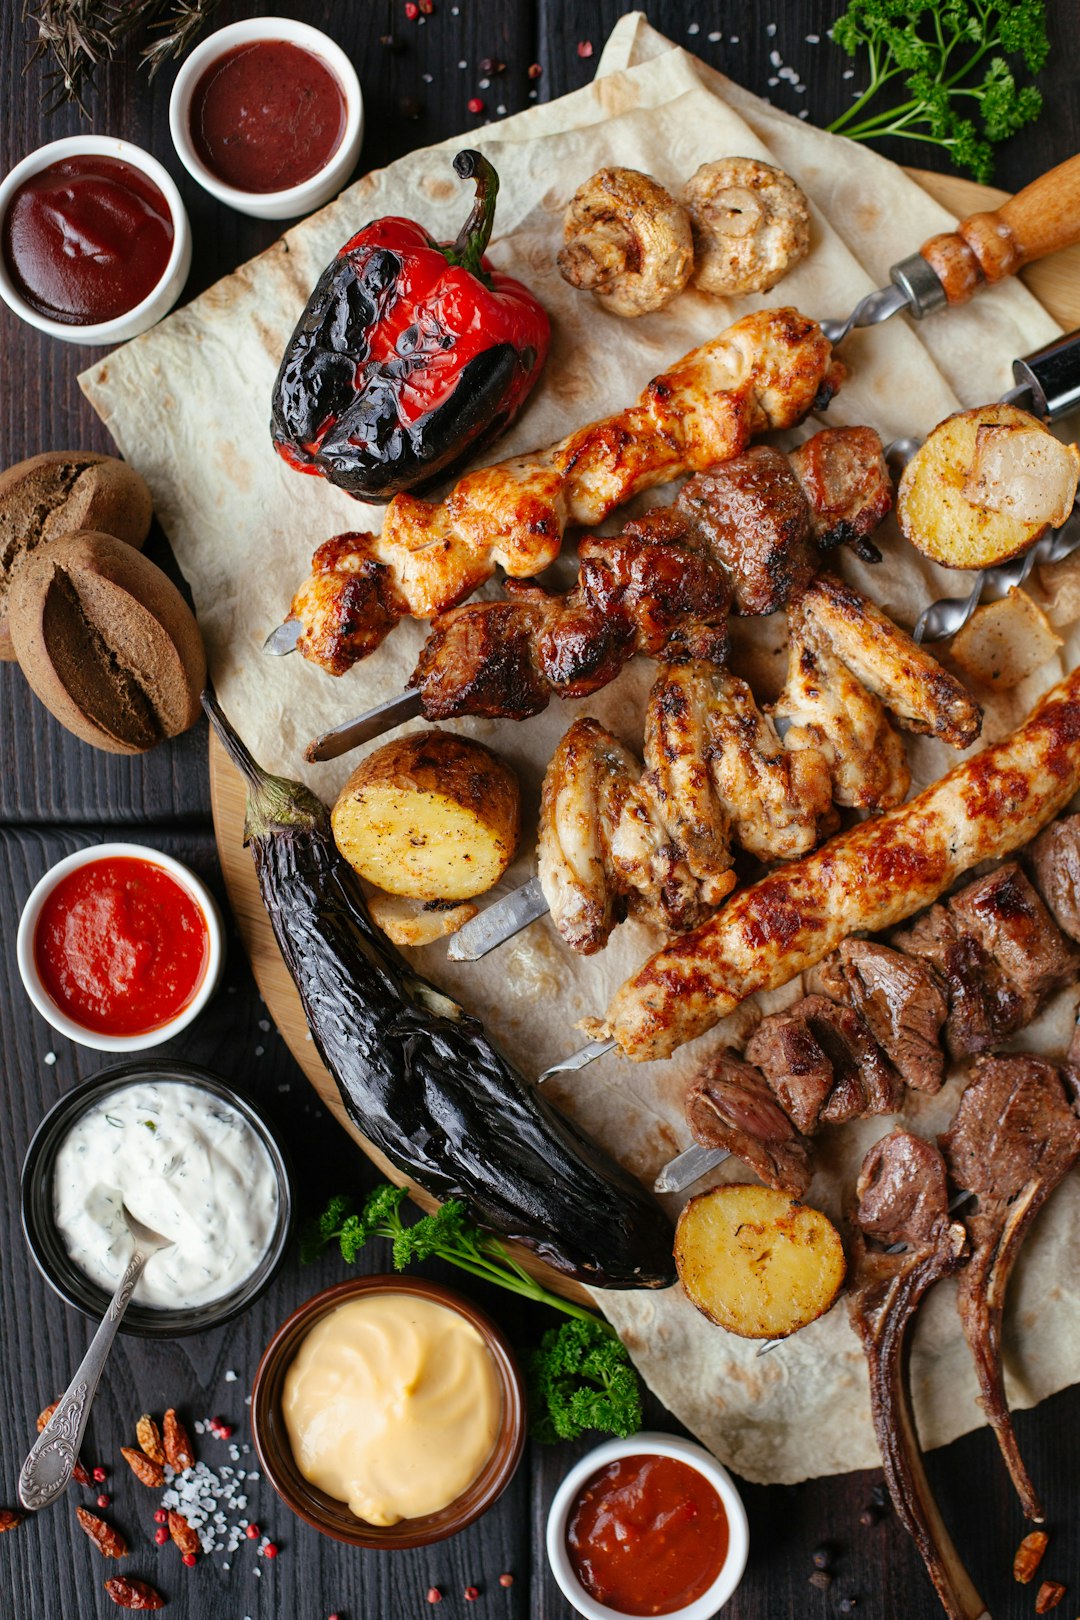
Selecting the right baby back or spare ribs with good fat marbling, preparing them with a dry rub or marinade, baking at 250°F (120°C) for several hours, achieving a crispy finish under the broiler, and efficient cleanup are key steps for making a delicious Baked BBQ Ribs Recipe.
Looking to master the art of baking BBQ ribs without a messy kitchen? This comprehensive guide is your secret weapon. Discover the best rib choices for a mouthwatering baked BBQ experience, learn preparation and marinade tricks for tender meat, and master the art of achieving a crispy exterior. Then, get ready for the easy cleanup tips that will leave your kitchen spotless—and you free to enjoy every last delectable rib!
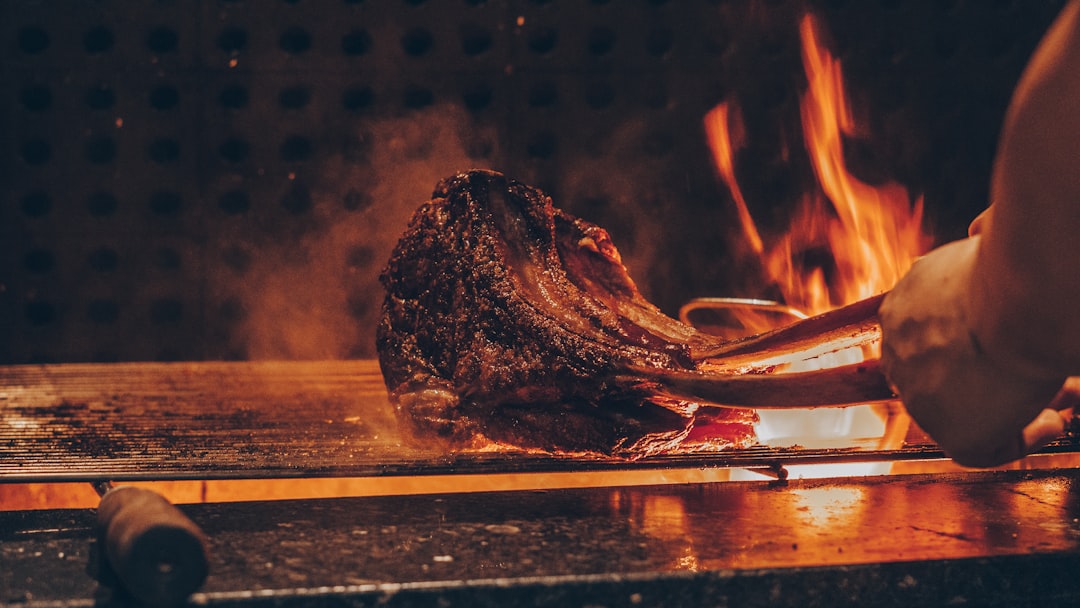
From selecting the perfect cut to achieving that iconic charred crust, this baked BBQ ribs recipe is a game-changer.
- Choosing the Right Ribs for Your Baked BBQ Experience
- Preparation and Marinade: The Key to Tender, Flavorful Ribs
- Baking Technique: Achieving That Crispy, Charred Effect
- Post-Baking Cleanup: Easy Steps for a Spotless Kitchen
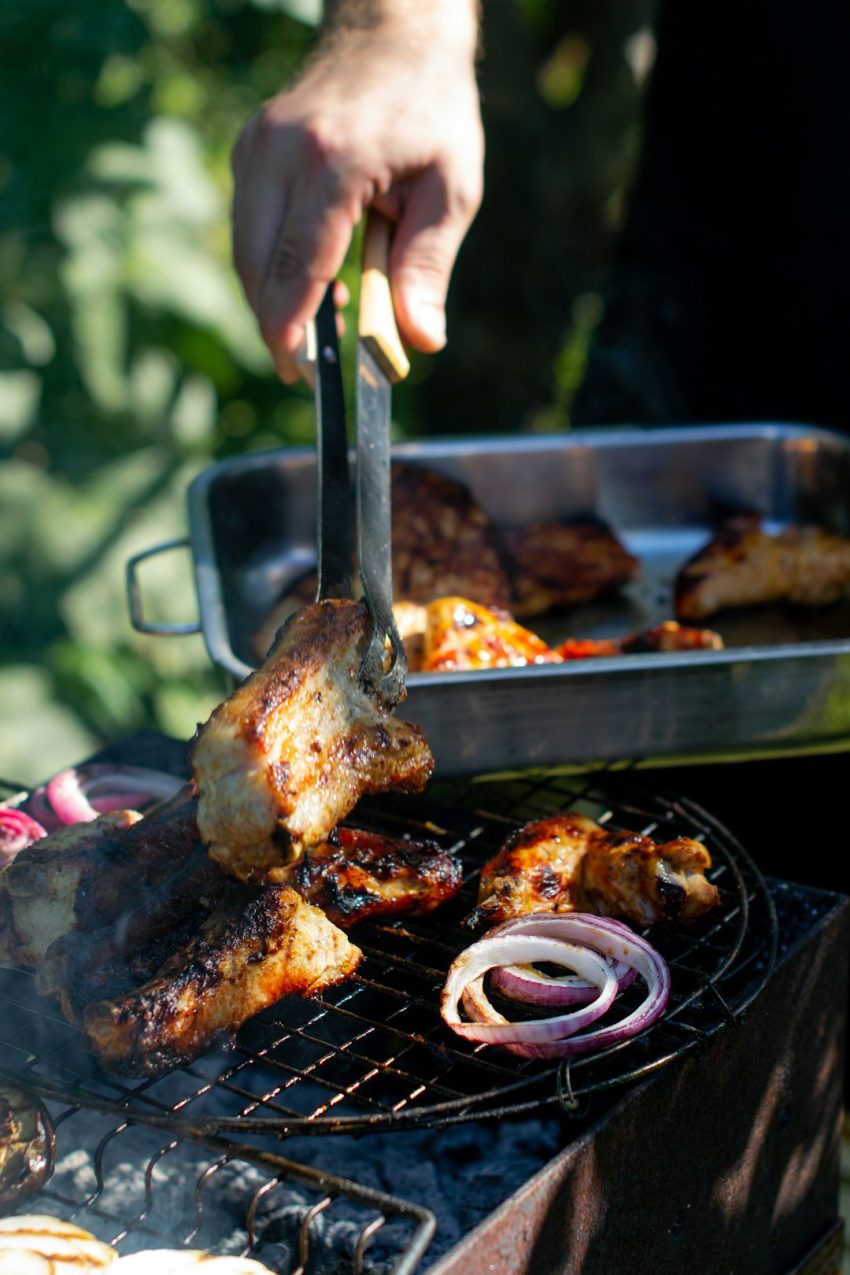
Choosing the Right Ribs for Your Baked BBQ Experience
When it comes to baked BBQ ribs, choosing the right cut is key to a delicious and tender outcome. Opt for baby back ribs or spare ribs, as they are more suitable for baking due to their smaller bone structure and generous meat-to-bone ratio. These cuts allow for easier distribution of moisture and flavor during the cooking process, ensuring your ribs stay juicy and tender.
Consider looking for ribs with a good marbling of fat, which will render during baking, adding richness and keeping the meat moist. A good quality, well-marbled rib will result in a more flavorful baked BBQ ribs recipe, creating a heavenly blend of spices and sauces that will have your taste buds dancing.
Preparation and Marinade: The Key to Tender, Flavorful Ribs
Preparation and marinade are essential steps in achieving tender, flavorful baked BBQ ribs. Start by selecting high-quality ribs, ensuring they’re meaty and have good marbling. Before baking, prepare your ribs by trimming any excess fat, which will help reduce flare-ups during cooking. A dry rub or marinade can significantly enhance the taste of your ribs. Dry rubs are simple blends of spices that coat the ribs, adding a savory kick. Marinades, on the other hand, involve soaking the ribs in a mixture of vinegar, oil, and various herbs and spices. This method penetrates deep into the meat, making it incredibly tender.
Whichever method you choose, allow enough time for the ribs to come to room temperature before baking. This ensures even cooking. When it comes to baking your BBQ ribs, a slow and steady approach is best. Preheat your oven to a low temperature, typically around 250°F (120°C), and bake until the meat becomes tender and easily pulls apart with a fork. The key to a successful baked BBQ rib recipe is patience; it may take several hours, but the result will be worth the wait!
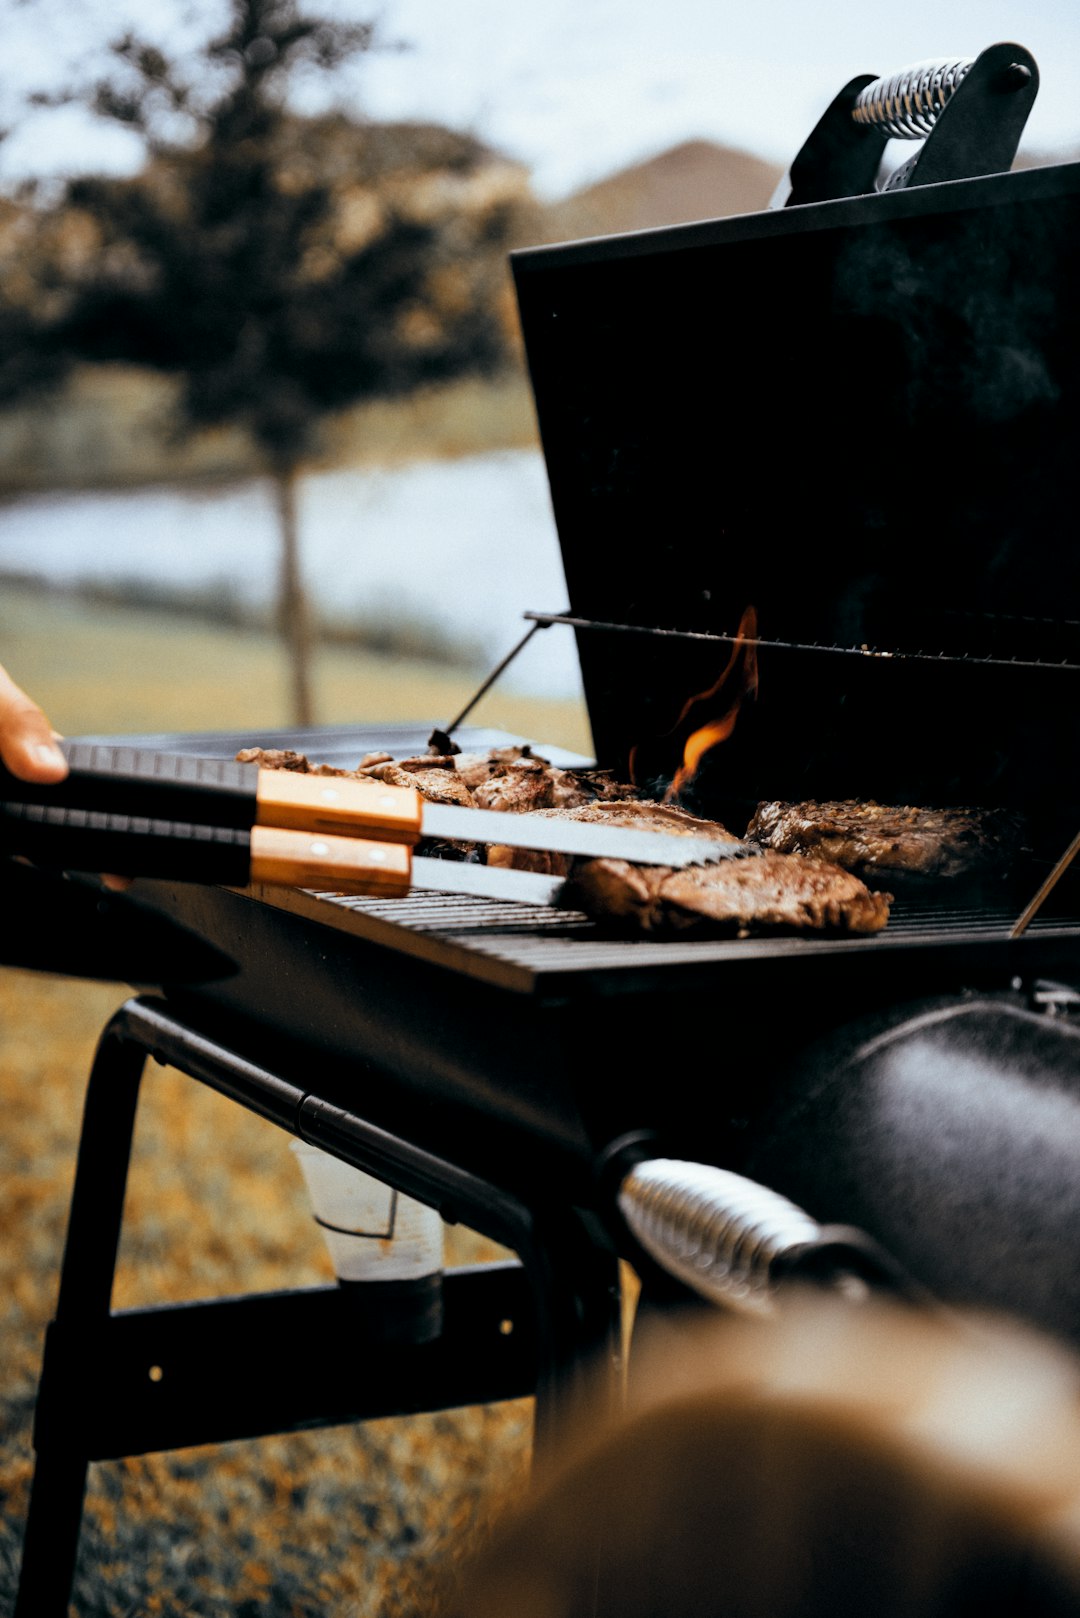
Baking Technique: Achieving That Crispy, Charred Effect
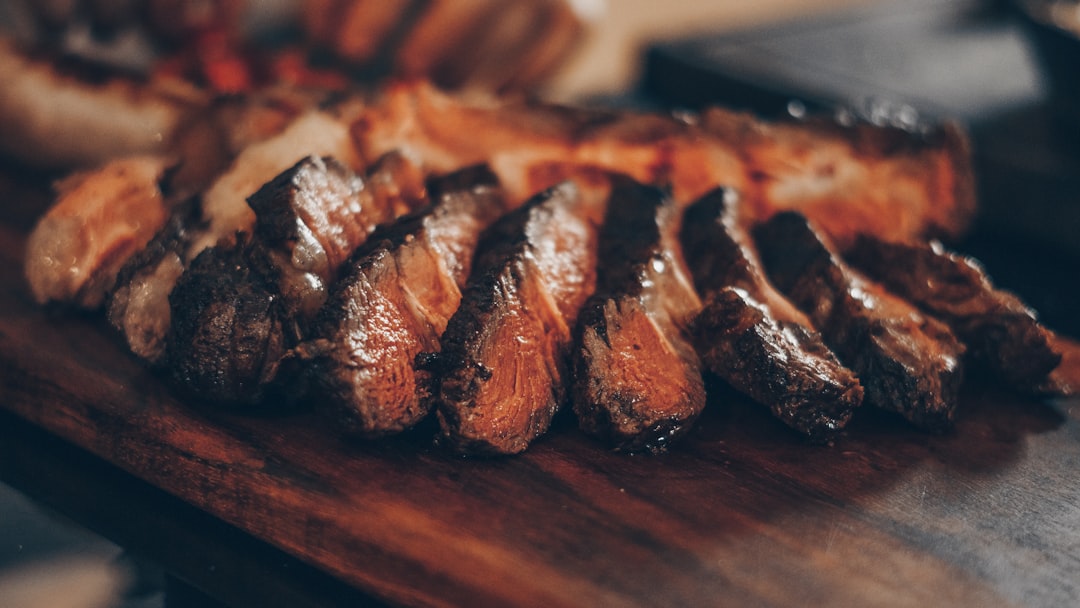
Achieving that crispy, charred effect on baked BBQ ribs is an art that combines the right technique and the perfect recipe. Start by preheating your oven to a high temperature—around 375°F (190°C)—to ensure even cooking and browning. Place the ribs on a rack in a baking dish, which allows for good air circulation, and brush them generously with BBQ sauce. This step not only adds flavor but also helps create that distinctive charred exterior.
During the baking process, use a broiler for the final minutes to achieve a deeper, more intense caramelization. Keep an eye on them to prevent burning, and remember that patience is key; allowing the ribs to brown gradually ensures a crispy, delicious finish. This technique complements your chosen baked BBQ ribs recipe, resulting in tender, flavorful meat with a mouthwatering crust.
Post-Baking Cleanup: Easy Steps for a Spotless Kitchen
After baking your mouth-watering Baked BBQ Ribs Recipe, the last thing you want is a mountain of dishes to wash. A quick and efficient cleanup process can transform your kitchen from chaotic to spotless in no time. Start by removing any large pieces of rib meat or bones from the pan, placing them securely in a trash can lined with a bag. Next, wipe down the baking dish with a warm, soapy sponge or cloth, taking care to scrub away any charred bits. Avoid using harsh chemicals or abrasive materials as they can damage non-stick surfaces or leave behind unpleasant odors.
Once the dish is clean and dry, it’s time to tackle the sauce. Scrape off excess sauce from the rib meat into a separate container for recycling or reuse. The pan should now be relatively easy to clean; simply rinse it with warm water and use a non-abrasive scrubber if needed. Remember, a well-cleaned baking dish will not only save you time but also ensure that your next culinary adventure begins on a fresh, squeaky-clean note.